Concrete is one of the most widely used building materials in the world, but did you know that improper preparation can reduce its strength by up to 50%? According to the American Concrete Institute (ACI), a significant number of concrete failures stem from issues during the initial pouring process . This makes preparation not just important but essential for any project in High Point, NC, that depends on durable, long-lasting concrete. Whether you’re working on a small patio or a larger commercial project, getting the prep work right can save you a ton of headaches down the road.
In this guide, we’ll take a closer look at how to properly prepare for a concrete pour. From site readiness to weather considerations, these insights will help ensure your project stands the test of time. Let’s get started!
Why Proper Preparation Matters
Before jumping into the step-by-step process, it’s crucial to understand why good prep work isn’t something you can skip. Concrete is an incredibly strong material, but its longevity and performance are directly tied to how it’s handled before and during the pour. Cutting corners now could mean costly repairs or worse, a complete redo later on.
Step 1: Site Assessment and Planning
Getting the site ready for a concrete pour involves more than just picking a spot. You need to assess the area thoroughly to avoid future issues.
Ensure Proper Grading
One of the most important steps is ensuring the site is properly graded. This means making sure the ground slopes away from any buildings or structures. Improper grading can lead to pooling water, which weakens concrete over time.
Here’s how to do it:
- Clear the area of any vegetation, debris, or large rocks.
- Check the soil type to make sure it’s suitable for supporting the concrete.
- Measure the slope using basic tools like a level or more advanced tools like a laser level if possible.
If the site isn’t correctly graded, the concrete may crack, leading to expensive repairs. Proper grading ensures that water doesn’t settle on the surface, reducing the risk of damage.
Soil Testing: Is It Necessary?
Not all soil types are equal when it comes to supporting concrete. If you’re dealing with expansive soils like clay, you might need to dig deeper and replace or stabilize the base material. A simple soil test can save you a lot of trouble here. While this isn’t always needed for smaller projects, it’s a must for larger ones, such as driveways or foundations.
Step 2: Base Preparation
After grading, the next step is setting a solid base for your concrete. Without this, the concrete is at risk of cracking or shifting.
Crushed Stone or Gravel
You’ll want to lay down a base layer of compacted gravel or crushed stone, usually about 4 to 6 inches thick. This base acts as a stable foundation for the concrete, preventing movement and helping with drainage.
Why gravel works well:
- Prevents cracks by distributing weight evenly.
- Improves drainage, allowing water to escape rather than sit under the slab.
- Reduces shifting, especially in areas prone to freezing and thawing.
Step 3: Forms and Reinforcement
Once the site is graded and the base is in place, it’s time to put up the forms and reinforcement.
Building Strong Forms
Forms are temporary structures that hold the wet concrete in place while it sets. For most projects, wooden forms are the go-to option, but for larger pours, steel forms might be necessary. Forms need to be level, stable, and able to withstand the pressure of the concrete as it cures.
Here’s what to consider:
- Measure carefully to make sure your forms are set at the right height.
- Secure the forms so they don’t shift during the pour.
- Check for leaks—if the forms aren’t sealed properly, the concrete can seep through and ruin the edges.
Adding Reinforcement
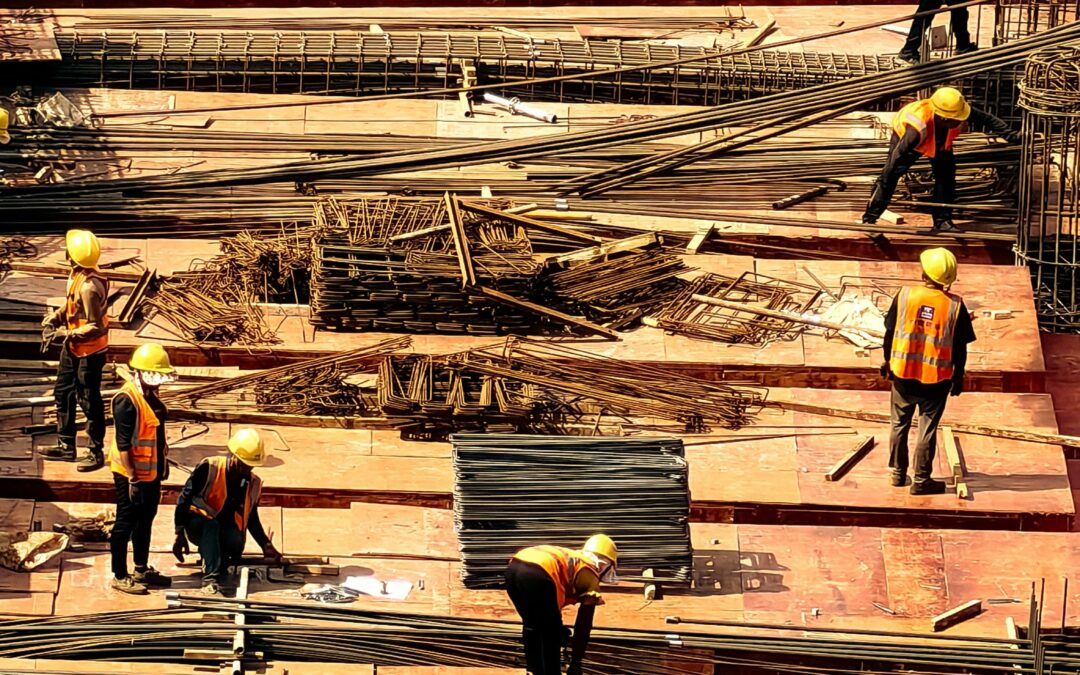
Reinforcement, like rebar or wire mesh, gives your concrete extra strength. While not all projects require reinforcement, it’s often recommended for anything that will bear heavy loads, like driveways or commercial floors.
Here are two common types:
- Rebar: Strong steel bars that are placed within the forms before pouring.
- Wire mesh: A grid of steel wires that adds stability to the slab.
Reinforcement helps concrete stand up to pressure and prevents cracking. If you’re not sure which option is best for your project, consulting with a concrete professional can help you decide.
Step 4: Weather Considerations
High Point, NC, has a humid subtropical climate, meaning hot summers and occasional cold snaps in the winter. This can affect how and when you pour concrete.
Watch the Temperature
Concrete is best poured when temperatures are between 50°F and 80°F. Too cold, and the concrete can freeze before it sets. Too hot, and it may dry out too quickly, weakening the final product. High humidity levels, common in North Carolina, also affect the curing process.
Here’s how to handle weather challenges:
- In hot weather, pour concrete early in the morning or late in the afternoon when temperatures are cooler.
- In cold weather, use heated water or other additives to ensure proper curing.
- Monitor the forecast and avoid pouring right before heavy rains, as excess water can weaken the concrete mix.
If you need to pour during extreme weather conditions, there are several adjustments you can make. Concrete blankets, for example, can help keep the material at the right temperature during cold spells.
Step 5: The Pouring Process
Now that everything is prepped, it’s time for the main event: pouring the concrete. But even this step requires careful attention to detail.
Timing is Everything
Concrete sets fast, so you’ll need to pour it quickly and evenly. Use a chute or wheelbarrow to move the concrete from the truck to the site. Spread it out with a shovel or rake, making sure there are no air pockets or uneven areas.
- Pour in layers: Start at one end and work your way to the other.
- Compact the concrete using a tamper to remove air bubbles.
- Screed the surface to make sure it’s level and smooth.
Don’t Forget the Finishing Touches
Once the concrete is poured, it’s time for the finishing work. This involves smoothing the surface with a trowel and applying a broom finish for added traction if needed. Don’t wait too long to start this process—the surface needs to be finished while the concrete is still wet.
Step 6: Curing the Concrete
Proper curing is essential for concrete strength. The process usually takes about 7 days, though full strength isn’t achieved until 28 days.
Keep the Surface Moist
For the first week, the concrete must stay moist to ensure even curing. This can be done by spraying it with water or covering it with wet burlap or plastic sheets. Without enough moisture, the concrete may dry too quickly and crack.
Trust the Pros for Flawless Concrete Projects
Preparation is everything when it comes to concrete work. Whether you’re tackling a driveway or a foundation, taking the time to get each step right can mean the difference between a smooth, durable finish and an expensive mistake. But don’t worry—if all of this sounds like a lot, Greensboro Concrete Services is here to help. With years of experience in High Point, NC, we know exactly what it takes to get the job done right.


