Stamped concrete is a popular and versatile option for enhancing the beauty and functionality of outdoor spaces. This guide will explore everything you need to know about stamped concrete, from its benefits and design possibilities to the installation process and maintenance tips. Whether you’re considering a new patio, driveway, or walkway, stamped concrete can provide a stunning and durable solution.
What is Stamped Concrete?
Stamped concrete is a decorative concrete technique where patterns and textures are imprinted onto the surface to mimic the appearance of natural materials like stone, brick, slate, or wood. This method combines the strength and durability of concrete with the aesthetic appeal of other materials, making it an excellent choice for various applications.
Benefits of Stamped Concrete
Stamped concrete offers several advantages over traditional paving materials:
- Aesthetic Appeal: With a wide range of patterns and colors available, stamped concrete can be customized to match any design preference.
- Durability: Concrete is known for its strength and longevity, making it a durable choice for high-traffic areas.
- Cost-Effective: Compared to natural stone or brick, stamped concrete is more affordable, especially for large areas.
- Low Maintenance: Once sealed, stamped concrete requires minimal upkeep, making it a convenient option for homeowners.
Design Possibilities with Stamped Concrete
One of the most appealing aspects of stamped concrete is its versatility in design. It can replicate various materials and patterns, offering endless possibilities for customization.
Popular Stamped Concrete Patterns
Some of the most popular stamped concrete patterns include:
- Ashlar Slate: Mimics the appearance of natural slate with rectangular shapes.
- Cobblestone: Recreates the classic look of cobblestone streets, ideal for driveways and walkways.
- Wood Plank: Imitates the texture and grain of wood, perfect for patios and pool decks.
- Brick: Offers a traditional look with the durability of concrete.
Color Options and Finishes
Stamped concrete can be colored using integral pigments, dry-shake color hardeners, or stains. These methods allow for a wide range of color options, from earth tones to vibrant hues. Additionally, finishes such as matte, glossy, or textured can be applied to enhance the visual appeal.
Installation Process of Stamped Concrete
Understanding the installation process can help you appreciate the craftsmanship involved in creating a stamped concrete surface. This process involves several key steps, each crucial to achieving a durable and visually appealing finish.
Preparation and Planning
Before installation, thorough preparation and planning are essential to ensure a successful outcome.
Site Preparation
The first step involves clearing the area where the stamped concrete will be installed. This includes removing any existing vegetation, debris, or old concrete.
It’s also important to ensure a stable subgrade, which may involve compacting the soil and adding a base layer of gravel or sand. This base provides a stable foundation and helps prevent cracking and settling of the concrete.
Forming
Forming defines the shape and size of the concrete slab. Forms are typically made from wood, metal, or plastic and are secured around the perimeter of the area to contain the wet concrete.
Proper leveling and alignment of these forms are critical, as they determine the final dimensions and elevation of the slab. Additionally, control joints may be incorporated into the forms to prevent cracking due to expansion and contraction.
Mixing and Pouring
The next step is mixing the concrete, which can be done on-site or delivered pre-mixed. The mix needs to be of the correct consistency and strength to ensure durability.
Once mixed, the concrete is poured into the prepared forms, starting from one end and working towards the other. The concrete is then spread evenly and leveled using tools like screeds and floats. It’s crucial to work quickly during this phase, as the concrete begins to set relatively soon after mixing.
Stamping and Finishing
With the concrete poured and leveled, the stamping and finishing process can begin, which gives the concrete its distinctive look.
Applying Color
Color can be added to the stamped concrete in several ways. One common method is to mix integral color into the concrete before pouring, ensuring consistent color throughout the slab.
Another method involves broadcasting a color hardener onto the surface of the wet concrete, which also increases surface strength. For more intricate designs, surface-applied stains or dyes can be used after the initial pour.
Stamping
Once the color is applied, stamping begins. Specially designed mats or molds with the desired pattern are carefully placed on the concrete surface and pressed down to imprint the pattern.
Timing is crucial; the concrete must be firm enough to hold the imprint without being so hard that it resists the mold. The stamping tools are applied methodically, ensuring a uniform pattern across the entire surface. Stamps may be moved and aligned to cover the whole area, often requiring multiple passes for large projects.
Detailing
After the primary stamping, additional tools may be used to enhance the pattern details and refine the edges. This detailing process may involve using smaller stamps or hand tools to add texture, clean up grout lines, and enhance the realism of the design. It is also a time to ensure any color inconsistencies are addressed and that the overall pattern looks cohesive.
Sealing
The final step in the installation process is sealing the stamped concrete. Sealing serves several purposes: it protects the surface from moisture, stains, and UV damage, enhances the color and texture, and increases the overall longevity of the concrete.
The type of sealant used can vary depending on the desired finish, such as matte or glossy. It is typically applied using a sprayer or roller once the concrete has fully cured, which can take several days to a week.
Maintenance and Care for Stamped Concrete
Maintaining stamped concrete is relatively simple, but following some basic guidelines is essential to ensure its longevity.
Regular Cleaning
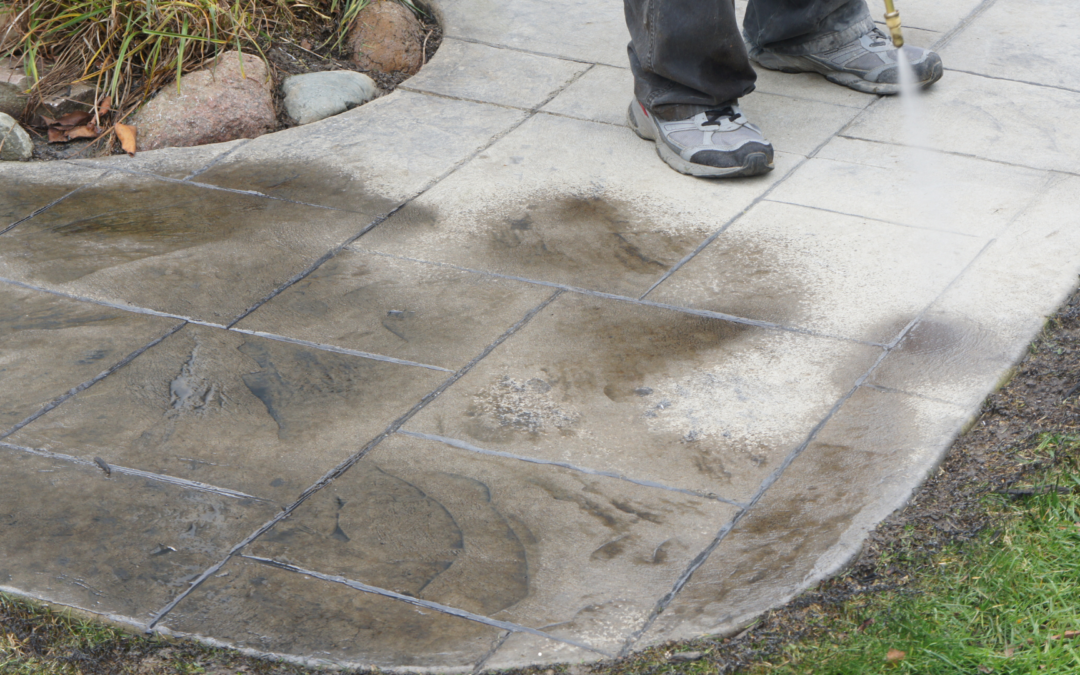
Regular cleaning helps maintain the appearance and prevent staining. A simple wash with a mild detergent and water is usually sufficient. For tougher stains, a pressure washer can be used.
Sealing and Resealing
Sealing is an essential part of stamped concrete maintenance. It protects the surface from moisture, chemicals, and UV rays. Depending on the traffic and weather conditions, resealing should be done every 2-3 years.
Preventing Damage
To protect the surface of your stamped concrete, avoid using deicing salts during winter as they can cause the concrete to deteriorate. Instead, use sand or non-corrosive ice melts. Additionally, be cautious with heavy furniture or equipment that can scratch or crack the surface.
Addressing Repairs
Although stamped concrete is durable, cracks or chips can occur. It’s crucial to address these issues promptly to prevent further damage. Professional repair services can fix these imperfections effectively. Also, regularly inspect the surface for any signs of wear and tear, and consider resealing if the surface starts to look dull or worn.
Conclusion: Enhance Your Outdoor Space with Stamped Concrete
Stamped concrete offers a perfect blend of beauty and functionality, making it an ideal choice for various outdoor projects. Whether you’re looking to enhance your patio, driveway, or walkway, stamped concrete can provide a unique and durable solution that mimics the appearance of natural materials at a fraction of the cost.
For those in the Greensboro area looking to transform their outdoor spaces, Greensboro Concrete Services is your go-to expert for stamped concrete installations. Contact GCS today to explore the endless possibilities of stamped concrete and start your journey toward creating stunning outdoor spaces that you’ll love for years to come.


